If you are anything like me, there is nothing more relaxing in the evening than curling up in comfy chair with a delicious cup of tea (and maybe a good book too!). At night, chamomile tea is always my favorite because it makes me just sleepy enough to send me off to bed.
I love making my own chamomile tea at home. Not only do I save on the cost of store-bought tea, but I also know there was no chemicals or pesticides involved, AND I reduce on all the packaging that comes with buying store-bought. Good for my wallet, good for my health, and good for the environment too.
Chamomile tea has been used in folk medicine for thousands of years, to help with sleep, relaxation, and anxiety, among other things. I share a little bit below about the health benefits of chamomile tea and then explain how I harvest, dry, and then brew my own healthy chamomile tea.

The Health Benefits of Chamomile
Researchers studying the benefits of drinking chamomile tea have found that it is linked to several positive benefits, including:
- Improving sleep and relaxation
- Reducing anxiety
- Easing menstrual pain
- Reducing inflammation
- Lowering blood sugar
Speaking purely from personal experience, and my own body’s reaction, I know that chamomile tea does seem to make me reliably sleepy and relaxed, within about 30 min of drinking it.
Growing Chamomile at Home
Growing chamomile at home is ridiculously easy. Even if you don’t have a large yard or garden, it is easy to grow in pots on your patio (which is what I do). There are two different types of chamomile plants: German chamomile and Roman chamomile. Although I grow both, German chamomile is the type most often used for teas and medicinal uses.
You can start your plants either from seeds or from starter plants. Both types of chamomile are easy to grow, and very forgiving. You can grow the plants in either full sun or partial shade. Chamomile can also grow in a variety of soil conditions, and is relatively drought tolerant.
That being said, chamomile does not like intense heat. It prefers temperatures around 60-70 F, although can tolerate up to 100 F. If you live in a hot climate, make sure to protect your chamomile plant with some partial shade and extra watering.
Harvesting and Drying Chamomile
Once your chamomile starts to flower, it is ready to harvest. It is best to harvest the flowers first thing in the morning, just after the morning dew has started to dry off. Use scissors to cut off the flowers just below where the flower meets the stem (or leave a longer stem if you are drying as a bunch, as explained below).
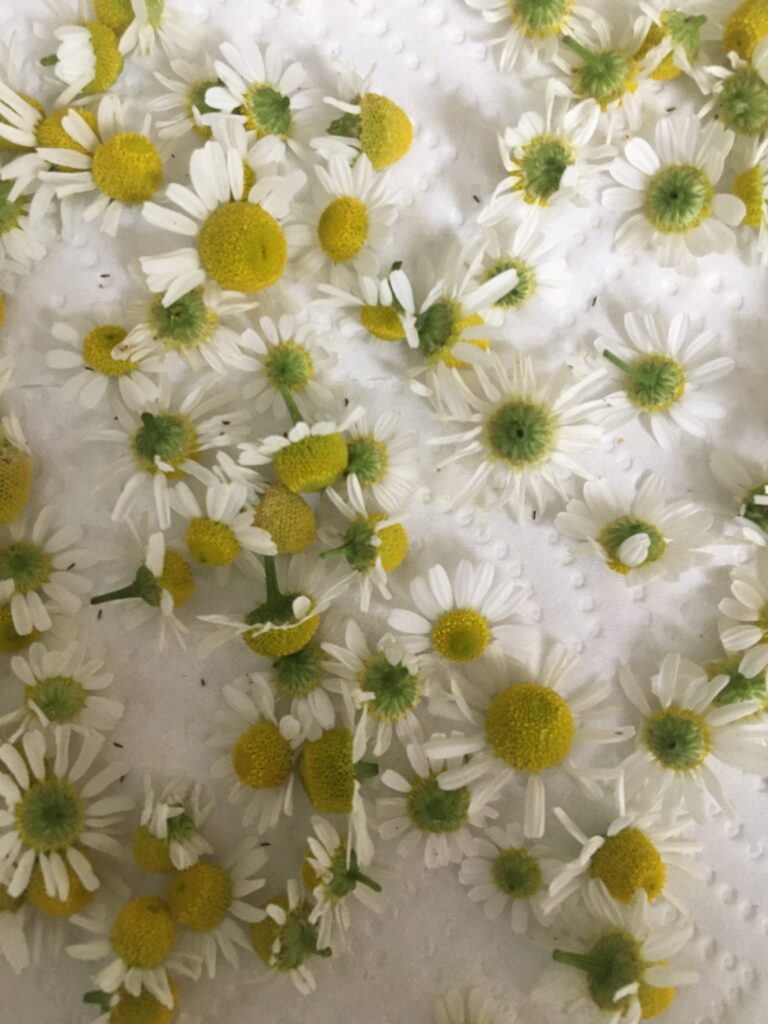
There are a few options to dry your chamomile. My method is usually to lay the flowers out on a clean cloth or paper, ideally in a cool, dark room that is free from humidity, and then just let them dry out naturally. Turn the flowers occasionally to speed up the drying time. This process will likely take a few days. You can also hang the flowers upside down as a bunch, tying the stems together and tying a paper bag over them, so that it catches any parts that fall from the flower. I find that this method takes a little longer, but also works well. If you have a dehydrator, that is also a good option.

Important Note: Chamomile can be contaminated with pollen from other plants, so if you have severe allergies, particularly pollen, you should be careful in using chamomile. Don’t use chamomile tea to substitute for other medical treatments you may already be taking. And if you are on medication it is always important to talk to your doctor about how that medication might interact with herbal treatments like chamomile tea.